How to Install an RSJ Beam in a Load-Bearing Wall – Full DIY Guide with Building Regs 2026
Installing an RSJ beam in a load-bearing wall is one of the most transformative home improvements you can make, creating open-plan living spaces and enhancing property value. However, it’s also one of the most technically demanding and potentially dangerous DIY projects. This comprehensive guide walks you through every step while emphasizing safety and Building Regulations compliance.
IMPORTANT: Legal and Safety Requirements
Building Regulations Compliance (UK 2026)
You MUST:
-
Obtain Building Control approval BEFORE starting work
- Submit plans and structural calculations
- Pay inspection fees (typically £250-400)
- Schedule inspections at key stages
-
Hire a Chartered Structural Engineer
- To design the beam and calculate loads
- To produce stamped calculations for Building Control
- Cost: £350-650 for typical domestic opening
-
Follow approved plans exactly
- Deviation can result in enforcement action
- May void home insurance
- Can prevent future property sales
Penalties for non-compliance:
- Enforcement notices requiring retrospective alterations
- Fines up to £5,000
- Requirement to demolish and rebuild
- Insurance claims rejection
- Property sale complications
Can This Be a DIY Project?
What you CAN do yourself:
- Remove non-structural elements (plasterboard, skirting)
- Prepare the opening
- Mix and pour padstone concrete (under supervision)
- Make good and finishing works
What MUST be done by professionals or under expert supervision:
- Structural engineering (must be chartered engineer)
- Installing temporary support (critical for safety)
- Beam installation and leveling
- Making structural connections
Recommended approach: Hire a structural engineer and experienced builder for the structural work, then do finishing yourself to save money safely.
Pre-Installation Planning
Step 1: Structural Assessment
Confirm the wall is load-bearing:
Signs of load-bearing walls:
- Walls running perpendicular to floor joists
- Walls directly above/below other walls on different floors
- Thicker walls (usually >200mm)
- Central spine walls in terraced or semi-detached properties
Non-load-bearing indicators:
- Stud partition walls (<100mm thick)
- Walls parallel to floor joists with no support above
- Recent additions not on building plans
If uncertain, hire a structural surveyor – Never guess!
Step 2: Engage Structural Engineer
The engineer will:
- Site visit to assess existing structure
- Calculate loads from floors/roof above
- Design beam size and support requirements
- Specify padstones and bearing details
- Produce stamped calculations for Building Control
- Provide installation drawings
Cost: £350-650 – Essential investment, cannot be skipped.
Step 3: Building Control Application
Submit to local authority:
- Engineer’s calculations and drawings
- Site plans showing proposed alterations
- Specification of materials
- Method statement
Approval typically takes 2-4 weeks.
Fee: £200-400 depending on local authority and project value.
Step 4: Order Materials
Once approved, order:
RSJ Beam:
- Exact size specified by engineer
- Cut to length (span + 300mm for bearing)
- Primed or galvanized as specified
- Lead time: 1-3 weeks
Padstones:
- Pre-cast concrete (recommended) or materials for casting
- Size per engineer’s specification
- Usually two required (one each end)
Acrow Props:
- Minimum 3-4 adjustable props
- Rated for expected loads
- Hire: £12-20 each per week
- Or buy: £40-80 each
Needles:
- 150 × 100mm timber or small RSJ sections
- Length to span wall width + 900mm each side
- Usually 2-3 needles required
Other Materials:
- Concrete/mortar for padstones and making good
- DPC (damp-proof course) for beneath beam
- Lintels if replacing above-beam masonry
- Plaster, plasterboard, finishing materials
Equipment Required
Essential Tools
Lifting and Support:
- Acrow props (3-4 minimum)
- Strong backs (100 × 50mm timber planking)
- Needle beams (150 × 100mm timber)
- Scaffold boards for load distribution
- Engine crane or block and tackle (for heavy beams)
Cutting and Demolition:
- Angle grinder with masonry cutting discs
- Lump hammer and bolster chisel
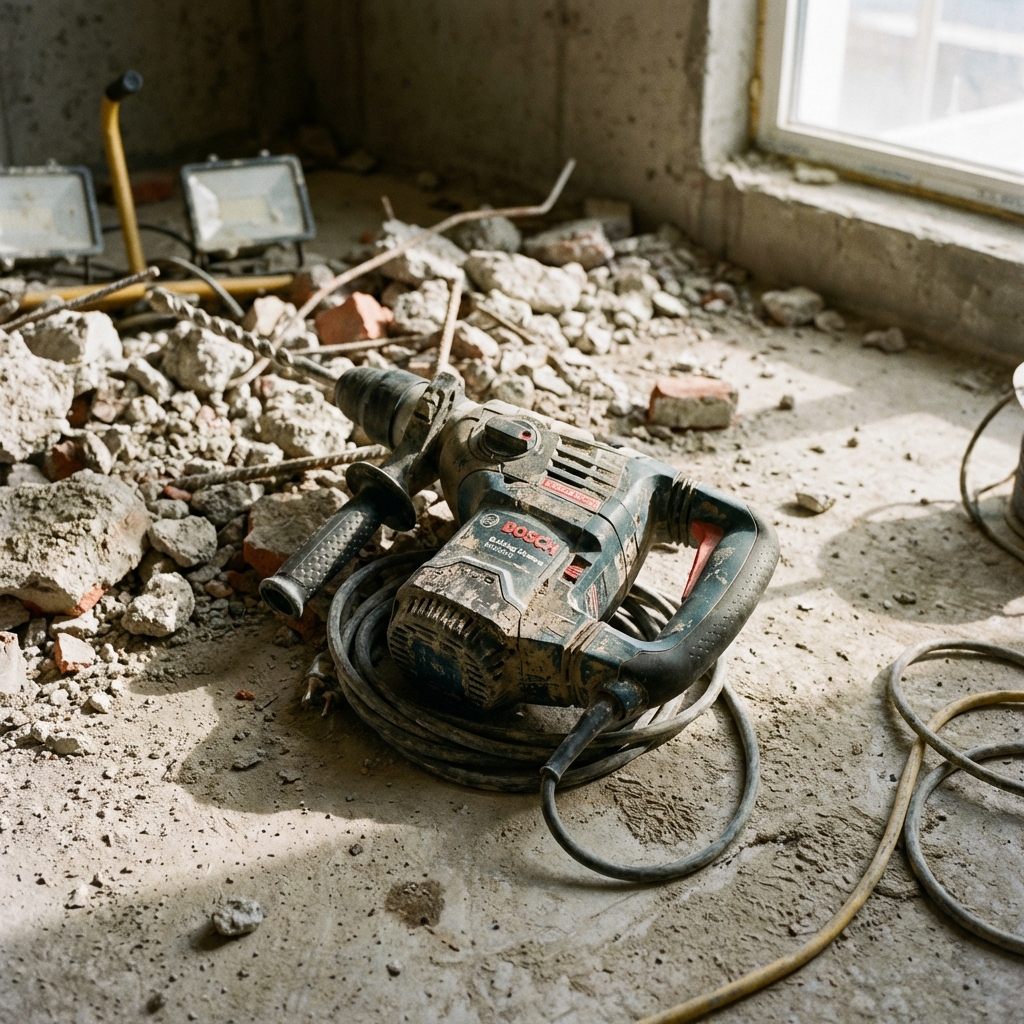
- SDS drill with masonry bits
- Dust extraction or masks (ESSENTIAL)
- Safety glasses and hearing protection
Measuring and Leveling:
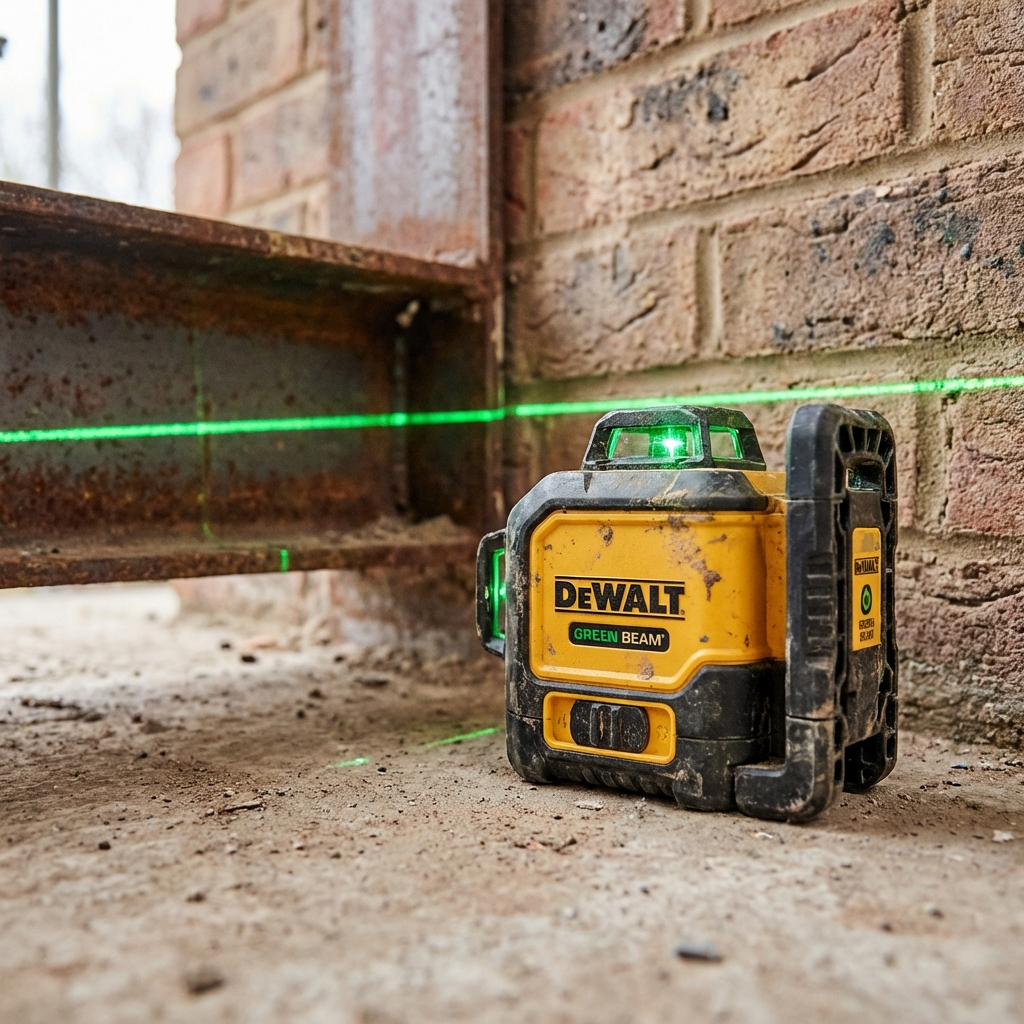
- Spirit level (1200mm minimum, 1800mm better)
- Laser level (very helpful)
- Tape measure (8m minimum)
- Builder’s square
- String line
Miscellaneous:
- Wheelbarrow for debris
- Skip or waste bags
- Tarpaulins for dust protection
- Concrete mixer (if casting padstones)
Safety Equipment
MANDATORY:
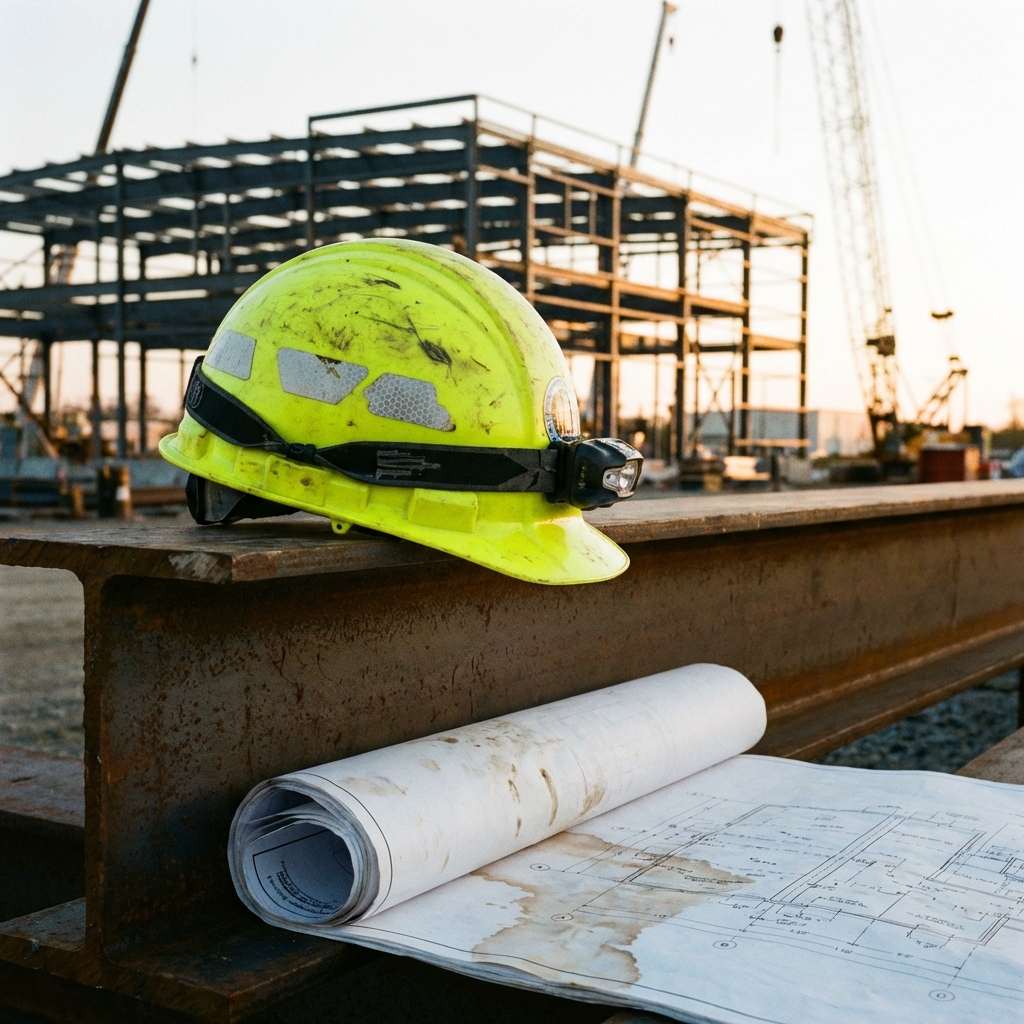
- Hard hat
- Safety glasses/goggles
- Dust mask (FFP3 rated minimum)
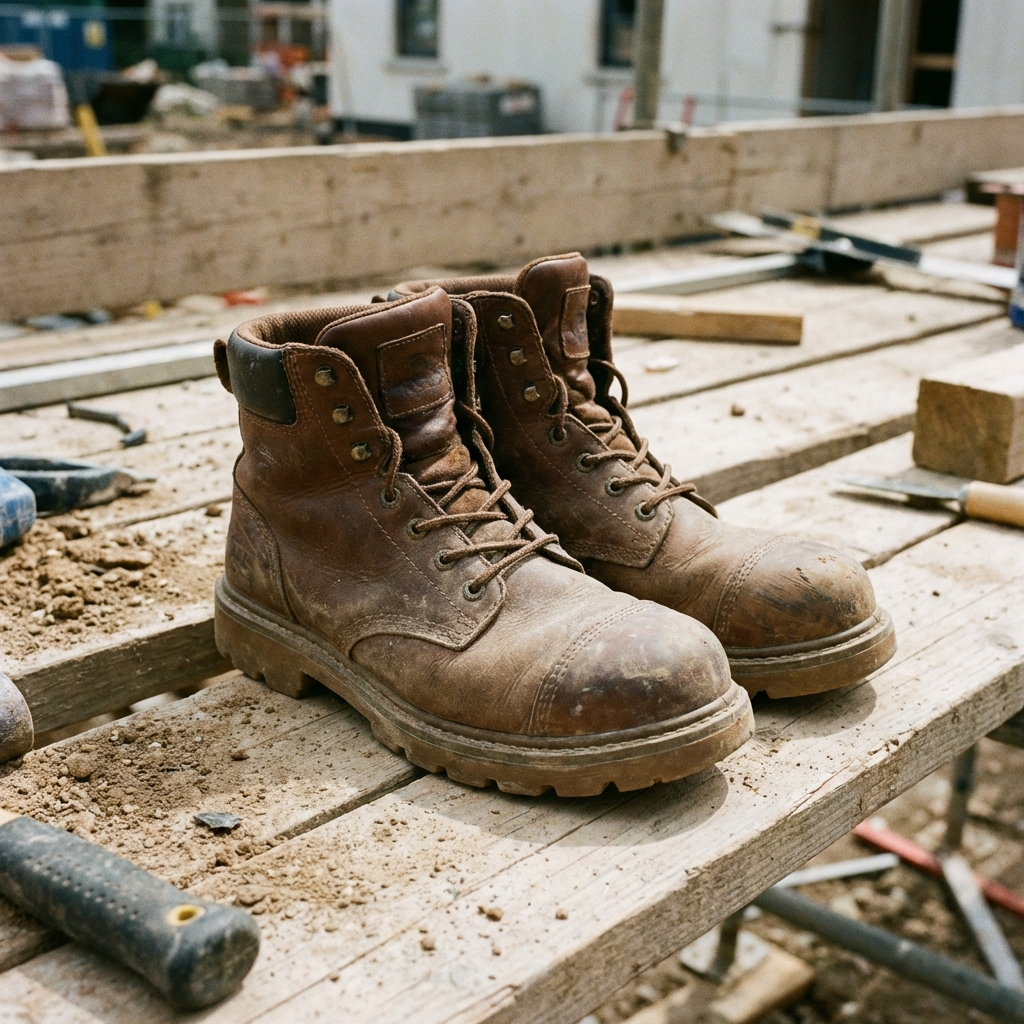
- Steel toe-cap boots
- Heavy-duty work gloves
- Hearing protection
Refer to HSE guidance for construction health and safety requirements.
Also consider:
- First aid kit
- Fire extinguisher
- Mobile phone for emergencies
Installation Procedure
Phase 1: Temporary Support Installation (CRITICAL)
This is the most dangerous phase – any errors can cause collapse.
Step 1: Mark Needle Positions
- Space needles 1.0-1.5m apart
- First needle at least 600mm from proposed opening edge
- Mark both sides of wall
Step 2: Install First Needle
- Cut hole through wall (150 × 150mm minimum)
- 900mm above floor level typically
- Push needle beam through wall until equal projections both sides
- Support each end with acrow prop on scaffold boards
- Adjust props to just touch needle (light contact, no load yet)
Step 3: Progressively Transfer Load
- Tighten props slowly and evenly (quarter turns alternating sides)
- Watch for movement or cracking
- Listen for unusual sounds
- Stop if anything concerning occurs
- Eventually props should carry full load above
Step 4: Install Remaining Needles
- Repeat for second and third needles
- Ensure all props equally loaded
- Double-check all connections
Safety check: Wall above opening should now be fully supported by needle system. Test by gently pushing removed bricks – should be loose-fitting, not wedged.
Phase 2: Create Opening
Step 1: Mark Opening
- Mark exact opening dimensions per engineer’s drawings
- Use spirit level to ensure plumb sides
- Mark padstone positions
Step 2: Cut Masonry
For brick walls:
- Use angle grinder to score cutting lines
- Cut slots for needles first
- Then cut vertical sides of opening
- Finally cut horizontally at bottom
For block walls:
- Similar process but may need SDS drill for initial breakthrough
- Work from both sides to prevent breakout damage
Safety: Wear full PPE, ensure good ventilation, use dust extraction if possible.
Step 3: Remove Bricks/Blocks
- Work from top down within supported area
- Remove carefully to avoid damage to remaining masonry
- Clean out voids and loose mortar
Step 4: Create Padstone Recesses
- At each end, remove bricks to create recess
- Dimensions per engineer’s specification
- Depth: Padstone thickness + 10mm for mortar bed
- Ensure base is level and sound
Phase 3: Padstone Installation
Step 1: Prepare Recesses
- Remove all loose material and dust
- Dampen surface (not saturated)
- Check base is level
Step 2: Mortar Bed
- Lay 10mm thick bed of 1:3 cement:sand mortar
- Use spirit level to create perfectly level surface
- Work quickly before mortar sets
Step 3: Set Padstones
- Carefully position padstone in recess
- Press firmly into mortar bed
- Level in both directions
- Verify level across to opposite padstone
- Both padstones MUST be at exactly same height
Step 4: DPC Layer
- Once padstones have set (minimum 24 hours)
- Place DPC (bitumen felt or plastic) on top
- Prevents moisture transferring from concrete to steel
Phase 4: Beam Installation
DANGER: Heavy beam requires extreme caution
Typical beam weights:
- 203×133×25 at 4m = 100kg
- 254×146×31 at 5m = 155kg
- 305×165×40 at 6m = 240kg
Anything over 100kg requires mechanical lifting assistance.
Step 1: Lifting Preparation
For lighter beams (<100kg):
- Get minimum 3 strong people
- Use lifting straps with padding
- Plan lift carefully
- Practice lift motion without beam first
For heavier beams:
- Hire engine crane (£60-100/day)
- Or use block and tackle system
- Professional installation strongly recommended
Step 2: Position Beam
- Lift beam into opening
- Rest carefully on padstones
- Verify minimum 100mm bearing each end (150mm preferred)
- Check beam is square to wall
Step 3: Level and Pack
- Use spirit level across width and along length
- Add steel packing plates if needed (NEVER wood – can crush)
- Aim for perfect level (critical for floor joists above)
- Recheck after 30 minutes (beam may settle slightly)
Step 4: Temporary Support Above Beam
- Keep needles and props in place
- Install additional props directly under beam ends
- Don’t remove needles until new masonry above beam has cured
Phase 5: Rebuild Above Beam
Step 1: Install Permanent Lintel (if required)
- Some designs have concrete lintel above RSJ
- Set on beam with mortar bed
- Follow engineer’s specification
Step 2: Rebuild Masonry
- Use bricks/blocks matching existing
- Strong mortar mix (1:3 or 1:4)
- Ensure good bond with existing masonry
- Leave weep holes for drainage if external wall
Step 3: Make Good Below Beam
- Fill gaps around beam ends with mortar
- Point neatly to match existing
- Install fire protection if required (plasterboard, intumescent paint)
Step 4: Curing Period
- Allow 7 days minimum before removing temporary support
- 14 days preferred for full strength
- Don’t rush – premature loading risks failure
Phase 6: Remove Temporary Works
Step 1: Progressive Unloading
- After adequate curing time
- Release props slowly and evenly (quarter turns)
- Watch for movement or cracking
- Stop if anything unusual
Step 2: Remove Needles
- Once all props released safely
- Remove needles from walls
- Fill needle holes with matching bricks/blocks
Step 3: Final Checks
- Verify no cracks or deflection
- Check beam remains level
- Inspect padstones for crushing or movement
Phase 7: Finishing Works
Step 1: Plasterboard/Skim
- Box in beam if hidden
- Or leave exposed for industrial aesthetic
- Skim walls and ceiling to finish
Step 2: Paint/Decorate
- Prime any exposed steel
- Paint to match décor
- Install skirting, architraves
Step 3: Floor Repair
- Make good floor where props stood
- Replace flooring to match existing
Building Control Inspections
Typical inspection stages:
- Before opening wall: Verify temporary support adequate
- Padstones installed: Before beam placed
- Beam in position: Before rebuilding above
- Final: After completion, before occupancy
Failure to arrange inspections can result in:
- Building Control rejection
- Requirement to expose work for inspection
- Enforcement action
Always notify Building Control at least 24 hours before each stage.
Common Problems and Solutions
Problem 1: Beam Won’t Fit
Cause: Opening too small or beam oversized
Solution:
- Double-check dimensions
- Remove additional masonry if safe
- If beam genuinely wrong size, STOP – contact engineer
Prevention: Verify beam size against drawings before delivery
Problem 2: Padstones Not Level
Cause: Poor mortar bed preparation
Solution:
- Remove padstone
- Clean surface thoroughly
- Relay with greater care to level
- Use longer spirit level for accuracy
Prevention: Take time with initial installation – faster to do it right first time
Problem 3: Beam Deflecting Excessively
Cause: Undersized beam or overload
Critical: This is potentially dangerous – STOP work immediately
Solution:
- Contact structural engineer urgently
- Keep temporary support in place
- May need larger beam
Prevention: Ensure engineer has accurate information about loads
Problem 4: Cracking in Walls
Minor hairline cracks: Normal settlement, monitor and fill after few weeks
Widening or step cracks: Potentially serious structural issue
- Contact engineer immediately
- Don’t remove temporary support
- May indicate foundation issues
Problem 5: Building Control Rejection
Common causes:
- Work not matching approved plans
- Inadequate temporary support
- Wrong beam size installed
- Padstones undersized
Solution:
- Rectify specific issues raised
- May require partial demolition and rebuild
- Expensive and time-consuming – avoid by following plans exactly
Cost Breakdown
Typical 4m opening project (UK 2026):
| Item | Cost |
|---|---|
| Structural engineer | £350-600 |
| Building Control fees | £220-350 |
| RSJ beam (203×133×30, 4.3m) | £300-380 |
| Padstones (2 pre-cast) | £90-150 |
| Acrow props hire (3, 4 weeks) | £140-240 |
| Needles and timber | £80-120 |
| Concrete, mortar, materials | £100-180 |
| Skip hire | £120-200 |
| DIY Material Total | £1,400-2,220 |
| Professional installation labour | £800-1,500 |
| TOTAL (Professional install) | £2,200-3,720 |
| TOTAL (Supervised DIY) | £1,800-2,800 |
Money-saving opportunities:
- Do demolition and finishing yourself: Save £300-600
- Cast padstones yourself: Save £40-80
- Borrow or buy props (vs hire): Save £80-140
- Source reclaimed beam (with engineer approval): Save £100-180
False economies (DON’T):
- Skip structural engineer: Illegal, dangerous, uninsurable
- Avoid Building Control: Illegal, can’t sell property, insurance void
- Use undersized beam to save money: Catastrophic failure risk
- Inadequate temporary support: Collapse risk, potential fatalities
Timeline
Realistic schedule for DIY with hired help for structural work:
- Weeks 1-2: Engage engineer, site visit, calculations
- Week 3: Building Control application submitted
- Weeks 4-6: Approval process
- Week 7: Order materials (1-3 week lead time)
- Week 8-10: Material delivery
- Week 11: Install temporary support (1 day)
- Week 11: Create opening (1-2 days)
- Week 11: Install padstones (partial day, plus curing)
- Week 12: Install beam (1 day)
- Week 12: Rebuild above beam (1-2 days)
- Weeks 13-14: Curing period (no work)
- Week 15: Remove temporary works (1 day)
- Weeks 15-16: Finishing works (3-5 days)
Total: 15-16 weeks from decision to completion
Professional team can reduce on-site time to 1-2 weeks, but preparation and approvals still take 10-12 weeks.
Related Installation Guides
- Common RSJ installation mistakes
- How to support an RSJ during installation
- Padstone calculator for RSJ installations
- Building regulations guides
Conclusion
Installing an RSJ beam in a load-bearing wall is a complex, highly technical project requiring Building Regulations compliance, structural engineering, and careful execution. While experienced DIYers can do some aspects, the critical structural work should involve professionals.
Key Success Factors:
- Hire a chartered structural engineer – non-negotiable
- Obtain Building Control approval before starting
- Follow approved plans exactly – no improvisation
- Use adequate temporary support – safety first
- Allow proper curing times – don’t rush
- Arrange all required inspections
Red Flags to STOP work:
- Unexpected movement or cracking
- Unusual sounds from structure
- Temporary supports showing signs of distress
- Beam deflecting more than calculated
- Any uncertainty about next steps
When in doubt, consult your structural engineer – their phone call costs far less than structural failure.
This article provides general guidance only. Every installation must be designed by a structural engineer and approved by Building Control. Never undertake structural work without professional involvement.
Disclaimer: Structural alterations are dangerous and must comply with Building Regulations. This guide is for information only and does not replace professional structural engineering or Building Control approval.